

Have you been looking for essential painting and decorating tips? Find out more about pre-painting steps and professional decorating tips to help you succeed in your painting and decorating project.
Pre-Painting Steps
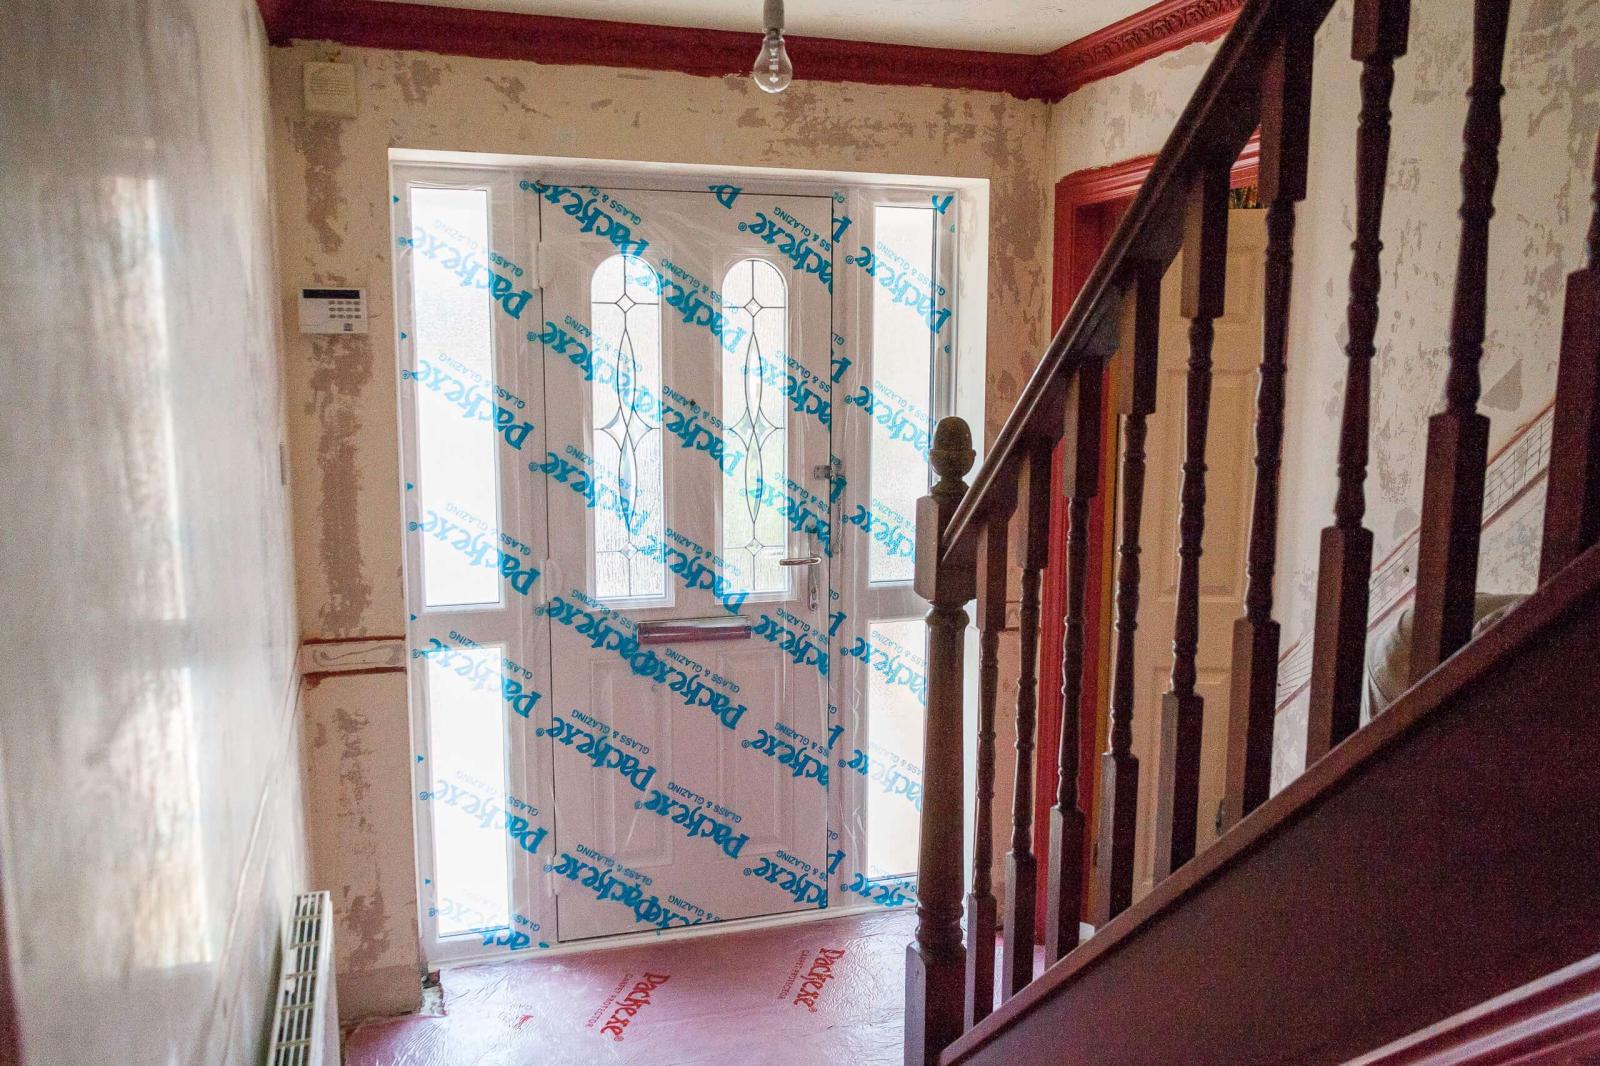
Set yourself a prep day, as you simply cannot complete all the jobs independently. You may want to begin with painting preparation tasks; for example, putting up masking tape, laying down plastic covers or newspaper and painting around sockets or radiators to give yourself a headstart.
Free up some space by ridding wall shelves, drawers, wardrobes, lamps and any other design pieces, woodwork or furnishings that would obstruct the painting stages and slow you down into another room. Drop cloths and zipper storage bags can also help hide a generous amount of furniture and protect them from the damage that splashes may cause.
Remove any hardware, especially if you are a beginner who has never painted before. Doorknobs, hinges, light switch plates, etc., should all be carefully removed whilst you paint, making the course of the process more straightforward and helping save time.
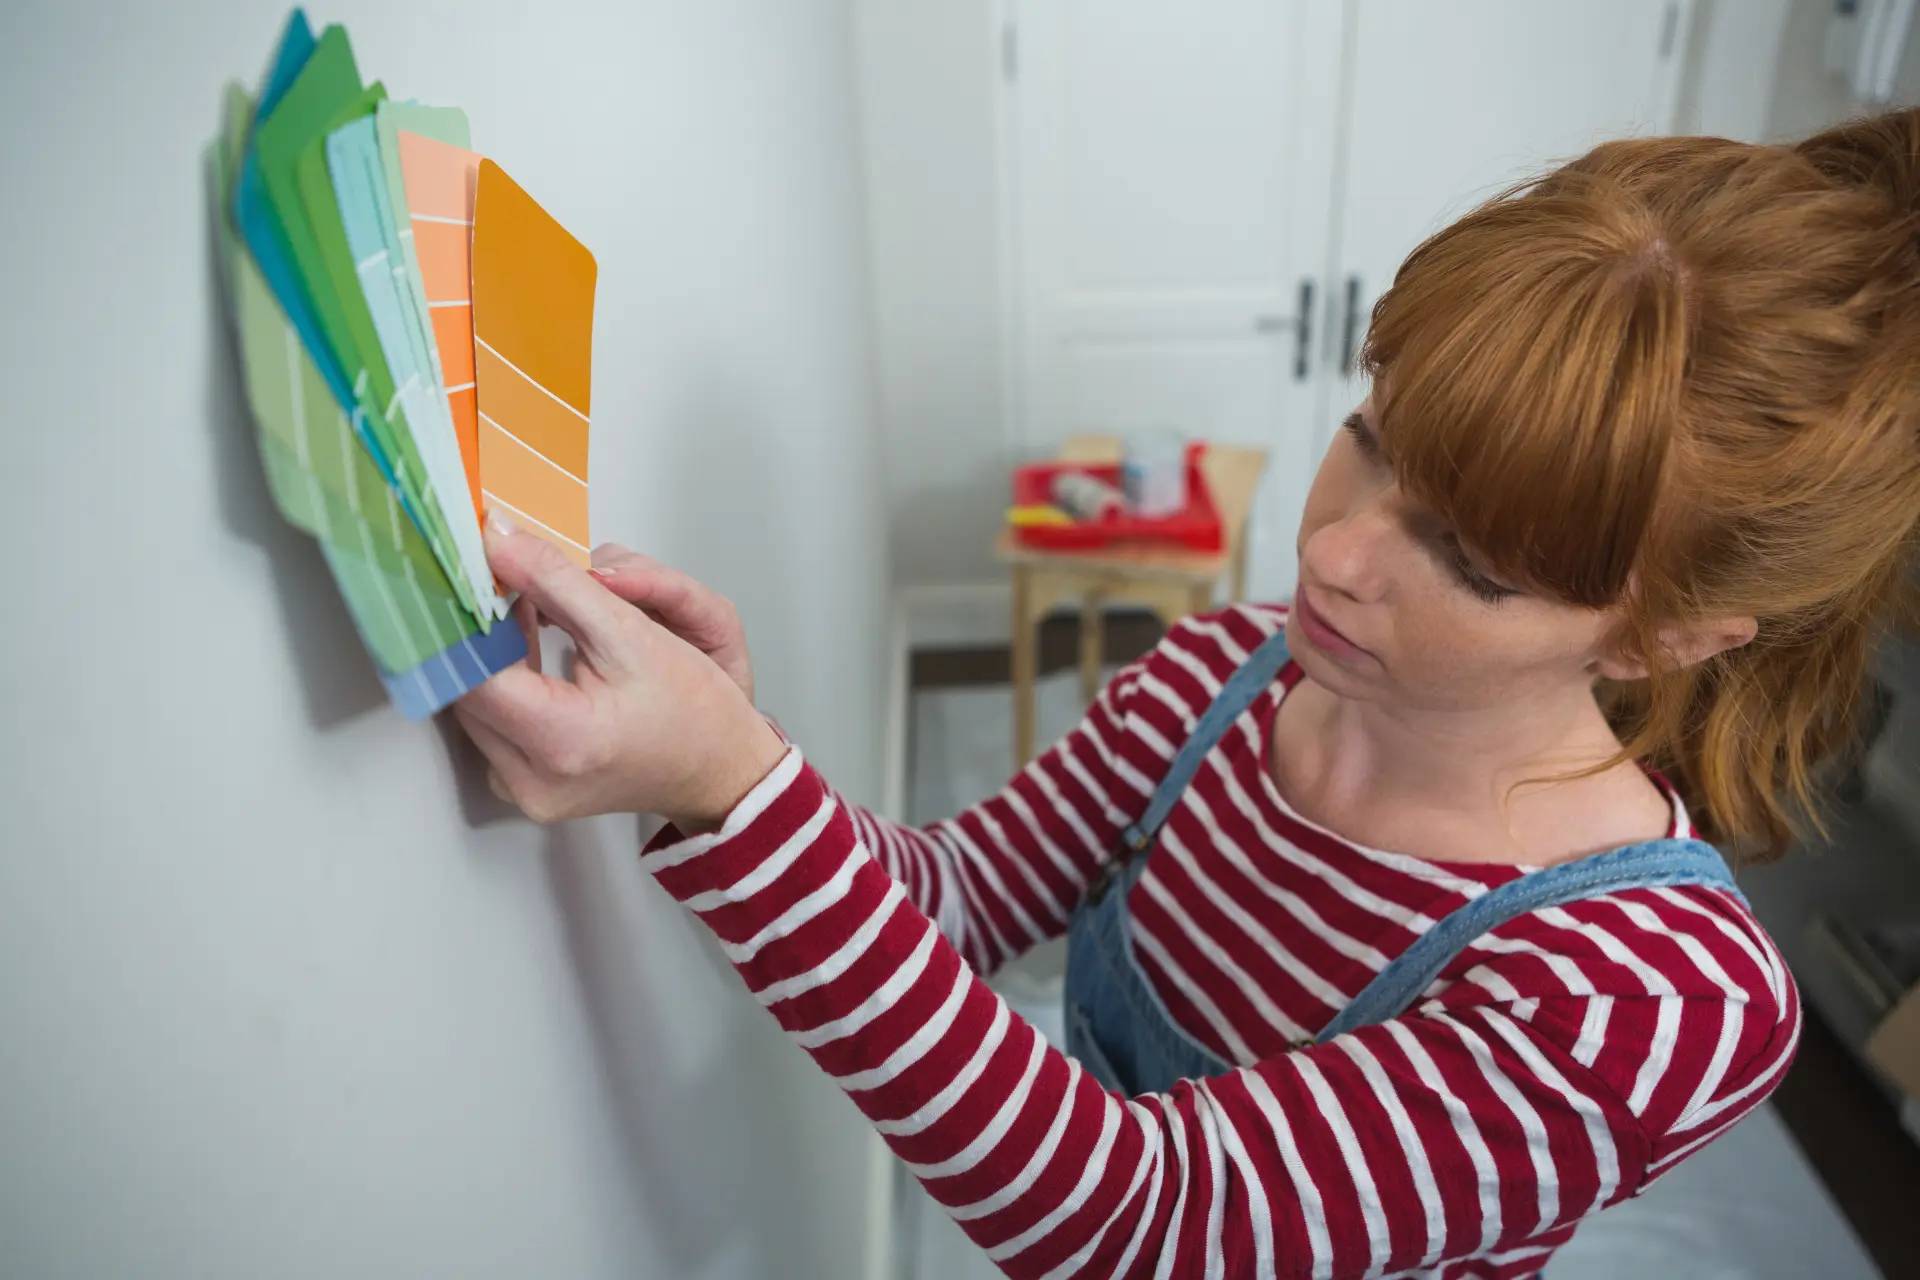
What Are The Stages Of Home Decoration?
We recommend labelling all bags, especially those with hinges for specific doors inside, such as the living room door, bedroom door, etc., so that you can reattach them after completing your painting project with a professional finish.
It's vital to fix any faults with furniture, floors or wall surfaces before painting the first coat. We highly recommend investing in a spackle, which is an excellent tool to remedy cracks and small holes.
For much larger gaps, you can utilise fibreglass and numerous other texturising products that will fill and fix the faults in a way that matches the texture and appearance of your finished wall.
Finally, the last preparation steps involve dressing the part and assembling your workstation. Ensure you dress in clothes and shoes that you do not mind getting dirty or coated in inevitable paint splashes, and curate an organised workspace.
All buckets of oil-based paints, can openers, drop cloths, spare tapes, damp cloths, hammers, brushes, rollers and their extension poles, plastic bags, and screwdrivers are immediately accessible in a neat pile. It would be best if you kept it tidy throughout so you don't lose anything.
Professional Decorating Tips
Professional painters in the interior design or painting and decorating industries can offer household or property owners a few tips regarding the right tools, materials and techniques that will improve the overall decorating process and outcome.
Preparation
Always ensure you are prepared before attempting your next home improvement project. Do plenty of research and spend time ensuring you have all the materials and necessary quality tools at hand that you will require.
You want to keep your home and equipment as organised as possible so that you can complete all the tasks in a time-efficient and proper way.
Avoid Poor Quality Paint
It's paramount to use good quality paint and cheap brushes when tackling the wall design of your home or property. Sometimes, you may find that poor-quality or cheaper paints provide a much more uneven and sparse paint finish that requires more coats and thus makes your decorating process more time-consuming.
It is well worth investing a few additional pounds into a more high-quality paint to guarantee a much more satisfying paint job and can save money in the long run, as your painting job will have a longer lifespan.
Use Good Quality Brushes
Always purchase and use high-quality brushes; we highly encourage you to invest in a 20-inch/5cm brush with synthetic bristles. Such will be ideal for cutting edges and corners of your room that you must combat first before going ahead with the middle aspect of your walls.
Painting Corners & Ridges
Remember that you must pay specific attention to the ridges, ceilings and corners of your room, including the areas above the skirting boards, around the window sills and the frames of doors, as this will enable you to focus on the centre of the walls or surfaces. Ensure all the paint blends together perfectly before moving on to the next sections.
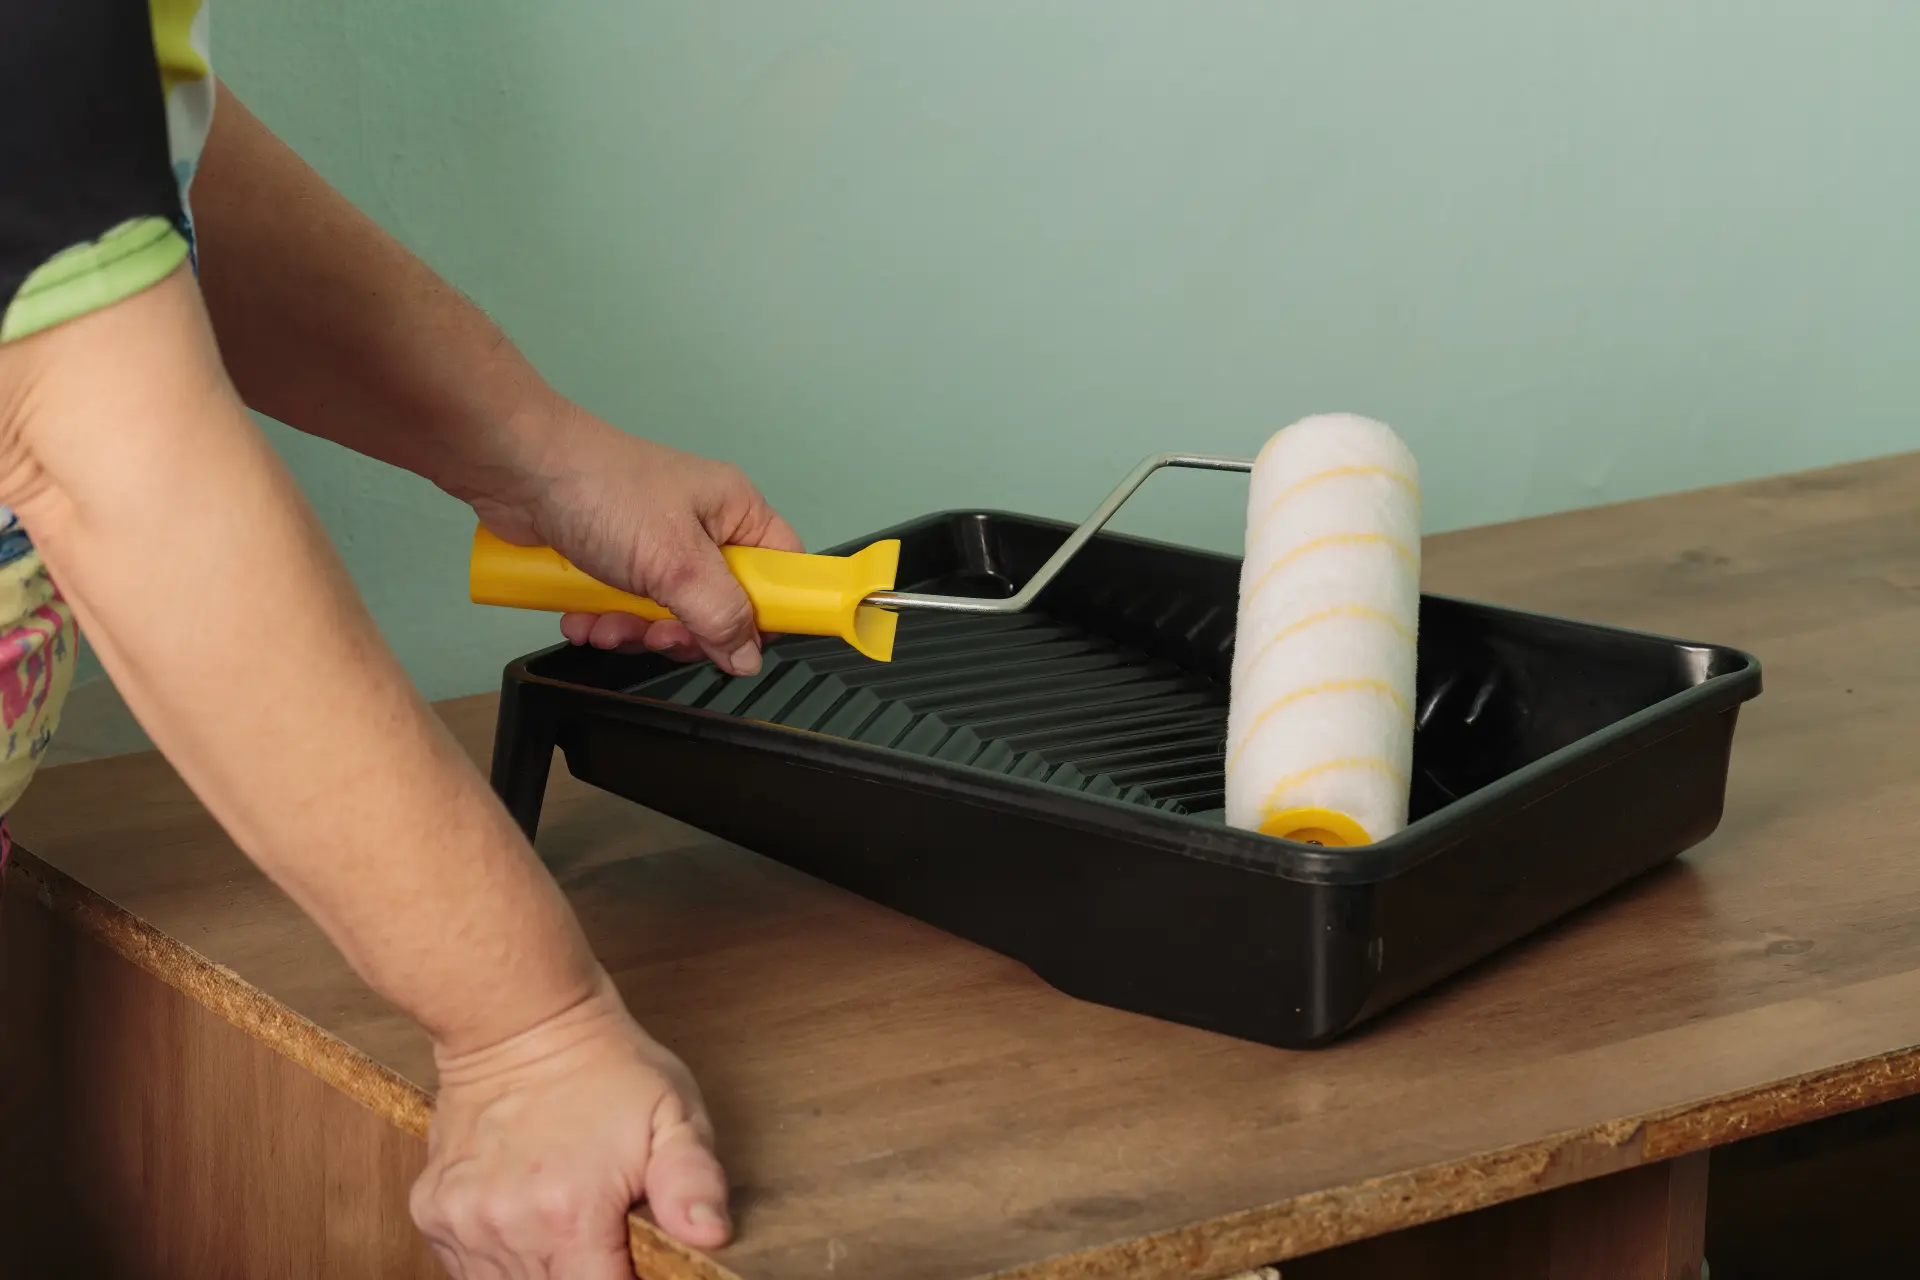
Roller Use
A roller is a fantastic tool for interior painting and painting ceilings, as it offers a broad and even space and manages to cover more space. Several rollers of different sizes are a wise idea, especially those of a medium pile design around 17cm/7 inches, and a smaller one for narrow areas like spaces around radiators or sockets.
Soak your rollers in soapy water to ensure they are in good condition, clean and free of any hairs or fluff that could obstruct the paint layers by transferring them onto your walls or doors.
Eradicate Dripping
To get rid of the risk of dripping paint throughout the process, you can try a range of techniques, such as dipping only half of your brush into the paint instead of all of it and tapping or swiping it gently along the side of the tin to remove excess. Dried drips can destroy a paint job and make it appear half-done, and loading up your brushes too much can also lead to unevenly painted walls, so it's best to be careful about the amount you utilise.
The W/m Technique
Distributing the paint is the best way to achieve an even layer, and to do so; we recommend the W/M technique. To perform such a method, you paint a letter M across the wall or area and then follow it with a W shape in the empty area using your roller. It is one of the most effective ways to get even coverage.
Keep Brushes Fresh
It is wise to ensure all your brushes are in tip-top condition; all paint rollers should be covered with a damp cloth inside a bucket until the next use, and you should thoroughly wash all brushes. In doing so, you can assure that your brushes and equipment do not dry out and become unusable.
Eliminate lap marks
It's extremely irritating to have spent so much time painting the walls of your home or property, resulting in mismatching buildup paint and lap marks. Rolling more paint straight over an already-dried layer can create these marks; however, you can combat it with a technique called 'wet edging,' which helps overlap strokes before they can dry and ruin the overall appearance.
Clean And Tidy As You Go
Another tip to keep in mind that will help you through the entire interior design process, not just painting, is to clean and tidy as you go. Always keep a damp, clean cloth with you, as this will allow you to quickly remove any paint splatters or spills as soon as they occur.
Get rid of excess paint with paper towels to ensure a clean, spotless appearance. A tidy environment, with all the right cleaning tools, masking tape and plastic covers to ensure your home and the final outcome of your walls are not obstructed by paint.

Mixing paints
One of the most significant aspects of painting to remember is that every can of paint will have various similar shades of the colours you desire. We recommend pouring these cans together inside a 5-gallon or 22-litre bucket, which is a process typically referred to as 'boxing.'
Pulling up masking tape
Wait until the paint has fully dried before removing any masking tape; this is a big rookie mistake. By ripping off the tape too early, it could risk removing large chunks of dried paint and peeling it off before it has had time to settle onto the wall, leaving you with repainting. It's best to wait at least 24 hours for the paint to completely dry and cut the tape with a sharp knife and remove it gradually at a 45-degree angle.
Paint quality
One of the most important interior painting tips is to ensure you invest in high-quality tools before starting the job. Good technique and patience are paramount; however, rollers, brushes and paints of the best quality will enhance the process and make it far more straightforward. For the best possible final results that don't end in wallpaper bubbling, paint lacking pigment or visible brush strokes or hairs stuck to the walls, tame your urge to purchase cheap equipment, materials and tools.
Start by painting the edges.
For those eager to learn the tricks of the trade and paint a room in their home or property like a pro, we highly recommend beginning every painting with the corner, edges, door frames and areas underneath windows. Doing so helps to stay within the lines and 'tape off' these areas and makes the task of painting the entire wall surface much more efficient.
Prime your wall
You may notice a few spots here and there upon observing your wall paint a little closer, which can be unfortunate, even if your paint appears uniform from afar.
Such blotches are referred to as 'flashing,' which can sometimes result from cracks, breaks or holes in the drywall. With one quick coat of a high-quality primer, you can ensure that you eliminate all possibility of any imperfections, patches or dullness that could be noticed by visitors or irritate you every time you pass the wall.
Clean the surface
It can be tempting to disguise all the dust, dirt and debris underneath a fresh lick of paint; however, doing so isn't long-lasting, and you'll find that it will eventually peel off in no time. You'll need some heavy-duty cleaning products or de-glosser, rubber gloves, and goggles for eye protection. A thorough cleaning ensures your paint doesn't begin to peel due to the coarse dirt underneath.
Roll close to the edge
We highly recommend ensuring that you evenly spread the paint as far as you can to the edge without dripping onto the trim or touching the opposing wall. You must proceed to the next area once you've evenly applied all the paint so that it may dry correctly.
Use drop cloths
Various elements can cause paint spills and splashes; however, one of the best ways to combat this is by utilising a canvas of drop cloths. These cloths can be relatively cheap and perfectly cover your surfaces practically to prevent spilt paint around your home.
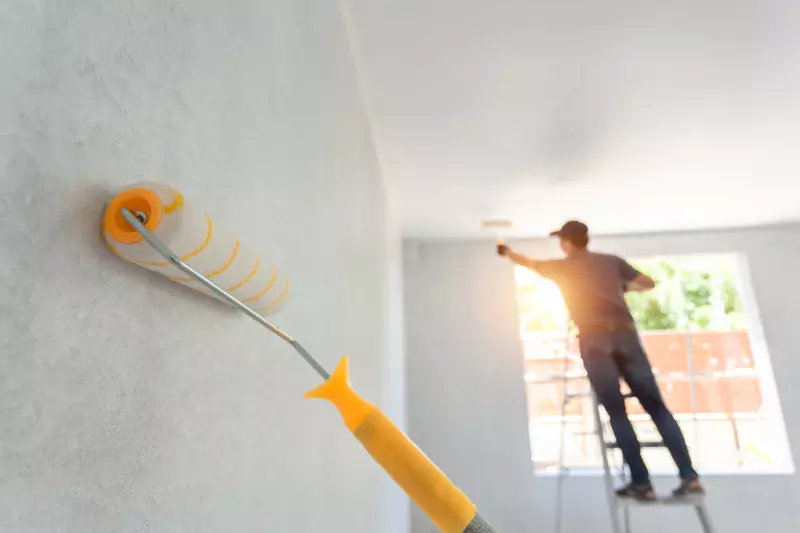
Feathering out paint
Trying to paint stairwells or tall walls with continuous strokes is often going to prove to be problematic. It can be challenging to achieve the same pattern of strokes throughout, and you may find that there is a difference in how the paint looks according to how comfortable your position or stance is. You can use a technique known as 'feathering' to paint areas that cannot maintain a wet edge for any reason, for example, physical constraints.
Sand the trim
Often, you'll find that, with just one coat, there isn't enough pigment to hide the original wall trim's colour. However, attempting to colour the trim with two coats applied immediately could result in a bumpy or grainy texture.
The best way to achieve a smooth, good finish is with a sanding sponge; before and after applying the first coat, we recommend sanding the entire wall, door or surface area down. After each sanding, vacuum the trim and thoroughly wipe it to rid all excess dust.
Interior Painting Services Northampton
If you require further assistance on your painting and decorating, please contact our professional and experienced team of painters and decorators. We will be happy to help you redesign and decorate your home interior for maximum comfort and entertainment.
If you require interior painting and decorating services for Northampton or the surrounding areas, follow the link below.